Learn how you can create a Google Analytics account and add it to your Webflow site to start analysing traffic.

So, you have created a website on Webflow for your new business venture but have no idea whether the website is driving traffic.
This is where website analytics comes in. A website analytics tool can answer all the questions above and more, helping you ensure that the content you create drives traffic, brings value to your website visitors, and ultimately convert them into paying customers.
One of the most popular website analytics tools is Google Analytics. In this blog post, we’ll walk you through creating and configuring a Google Analytics account, adding Google Analytics to your Webflow site, and confirming that website visits are being tracked correctly.
Google Analytics is a web analytics product offered by Google and is estimated to be used in more that 70% of active websites. Google Analytics is facing scrutiny from many regulators worldwide - especially in Europe - but it is still the major player at this point.
We won’t dive into detail on all the features of Google Analytics, but here are some of the major features that may interest you as a website owner.
To create a Google Analytics account, head over to https://analytics.google.com. You will be prompted to create a new account. Go ahead and click on the Start measuring button.
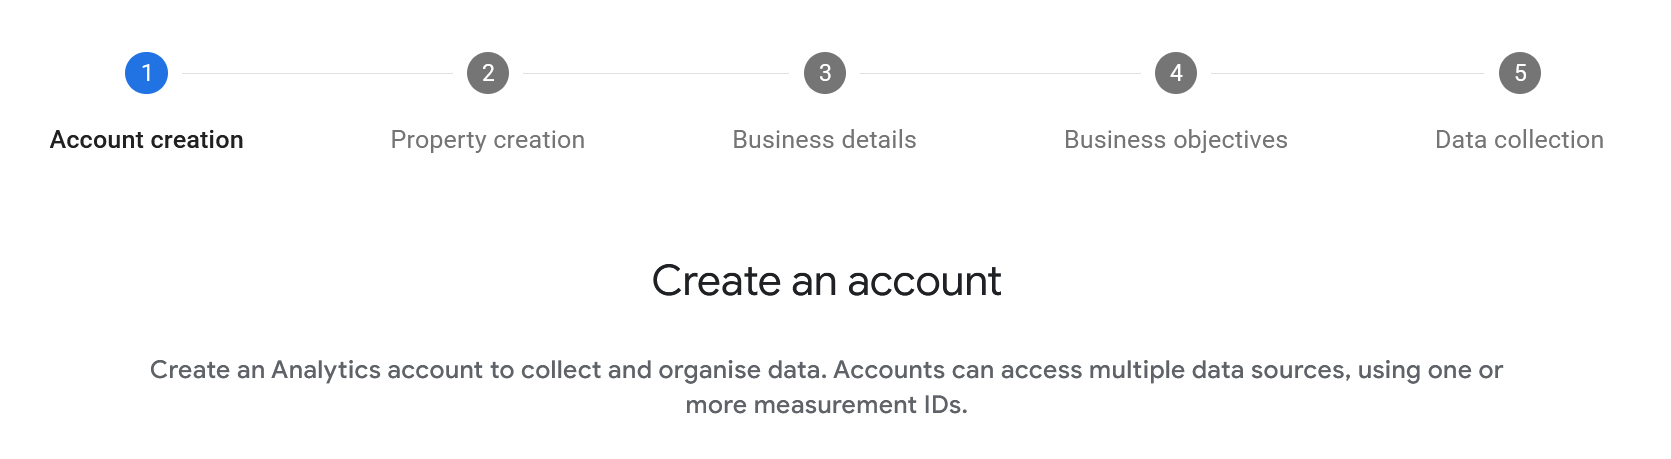
 You will be guided through a multi-step process of creating a new account and property (i.e., the website to be measured) and giving Google details on your business.
 The final step in the setup process will ask whether you want to collect data for a website, Android app, or iOS app. Select the Web option.
 Following this, Google Analytics will prompt you to configure a data stream. For this, you will need the domain of your website. You can find the domain by clicking on the Publish dropdown for your Webflow website. If you have a custom domain, use that instead.
 Complete the information required to create the stream, then click the Create stream button.
 Google Analytics will create the data stream and display a summary page with the stream details. Copy the Measurement ID, as you will need that to configure Google Analytics in your Webflow site.

You can now add Google Analytics to your Webflow site. Go you your site settings and navigate to the Integrations tab. In the Measurement ID textbox, paste the measurement ID you copied from Google Analytics. Click the Save changes button.
 After this, be sure to publish the changes to your domains.

You can now test your website to ensure the correct Google Analytics installation. To do this, navigate to the URL for your website in your web browser.
Switch back to Google Analytics, and navigate to the property you just created. If everything is working correctly, Google should indicate that with a message stating that your data collection is active. Please note that the data may take up to 24 hours to appear in your Google Analytics account. So, if you don’t see it immediately, don’t panic. Wait a few minutes or hours and check again.
 You can view website visitors in real time by clicking the View real time link. This should display your location on the map.

In this blog post, we demonstrate how to create a Google Analytics account and link that account to your Webflow site. As you track user visits, you’ll want to analyse the traffic. We suggest you visit the Google Analytics Academy for training material on how to analyse the data and use this data to optimise your site.
Manage your CMS content at scale.