Discover a step-by-step guide to seamlessly migrate your blog posts and other collections from Webflow to WordPress.

In this blog post, we will look at importing your existing content from Webflow into a WordPress site. Although we will focus specifically on importing blog posts from a blog post Collection in Webflow, you can also use this process to import content from other Webflow Collections.
At a high level, we can break down the process of migrating from Webflow to WordPress into the following steps:
Before continuing, I’d like to discuss why we focus on Collections, not pages.
The styling and content of Webflow pages are closely tied to your Webflow template. When you export your pages from Webflow, the styles that apply to the elements on your page are also exported.
On the WordPress side, you may use a theme that applies certain styles to your site. When importing the content from Webflow, the styles attached to the imported content will clash with the styles from your WordPress theme or override it completely. This is an undesired result.
Collections, on the other hand, contain content that is not tied to the styling of your Webflow site. Yes, certain styles will be applied when you publish the content on Webflow, but the content does not contain styling. It is, therefore, much easier to import this content into WordPress and have it fit in correctly with the styling of your WordPress theme.
Consider simply recreating pages from scratch in your WordPress site to ensure the correct styling from your theme is used.
We will use a couple of WordPress plugins for the migration, which you must install beforehand.
Ensure you have installed and activated both of these plugins before continuing.

To get the blog posts from Webflow to WordPress, we will export them to a CSV file. A CSV (or comma-separated values) file is a format commonly used to exchange information between different applications.
Webflow has built-in support for exporting collection items to a CSV file. Open the Webflow designer for the site you want to migrate to WordPress. Navigate to the Collection you want to migrate and click the Export button.
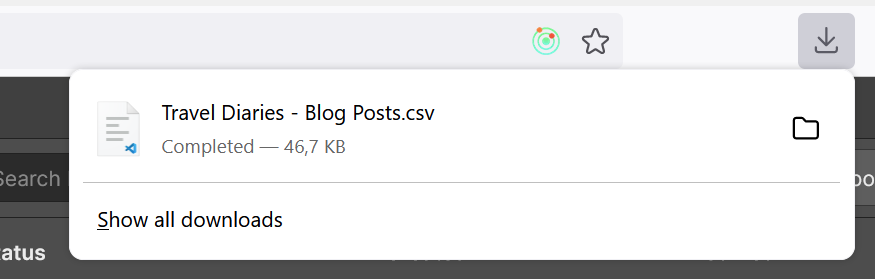
 A CSV file is saved to your computer.
 If you only want to export specific items from the Collection, click the Select… button instead.
 Select the individual items you want to export and, once again, click the Export button.

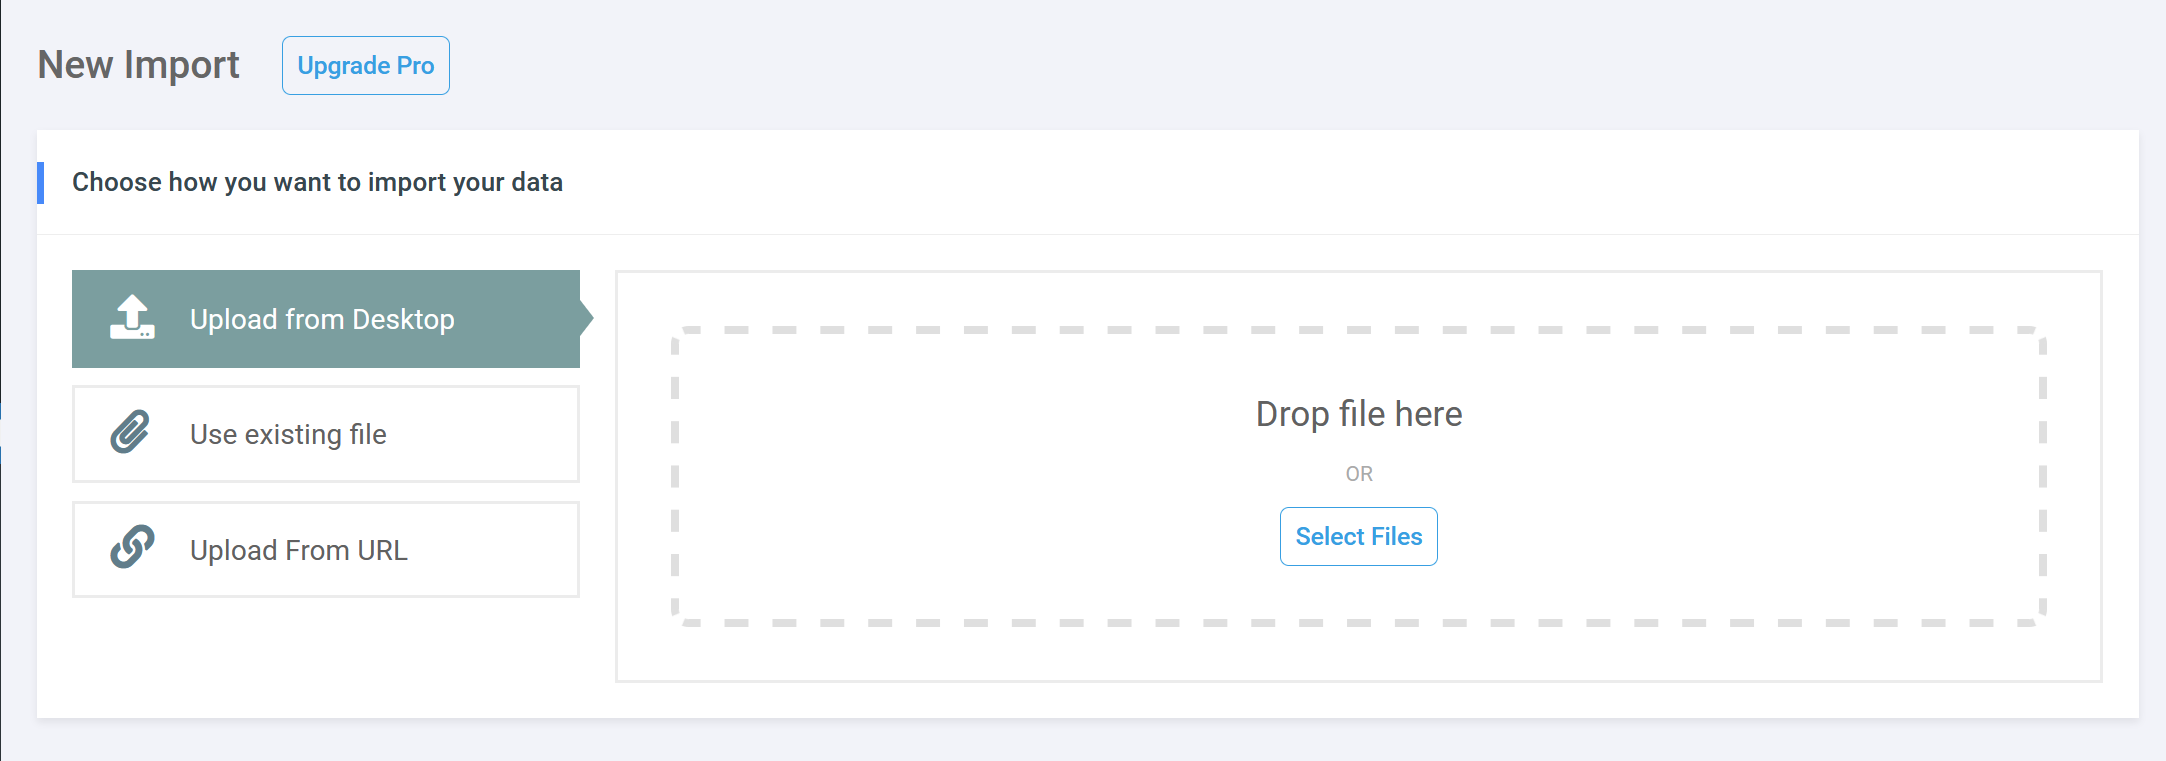
With the blog posts exported from Webflow, we can import them into WordPress. Navigate to the WordPress Admin Dashboard and select the WP Imp Exp > New Import item. This menu item was added by the WP Import Export Lite plugin, so make sure you have installed and activated it. As mentioned previously, you can also consider WP All Import as an alternative.

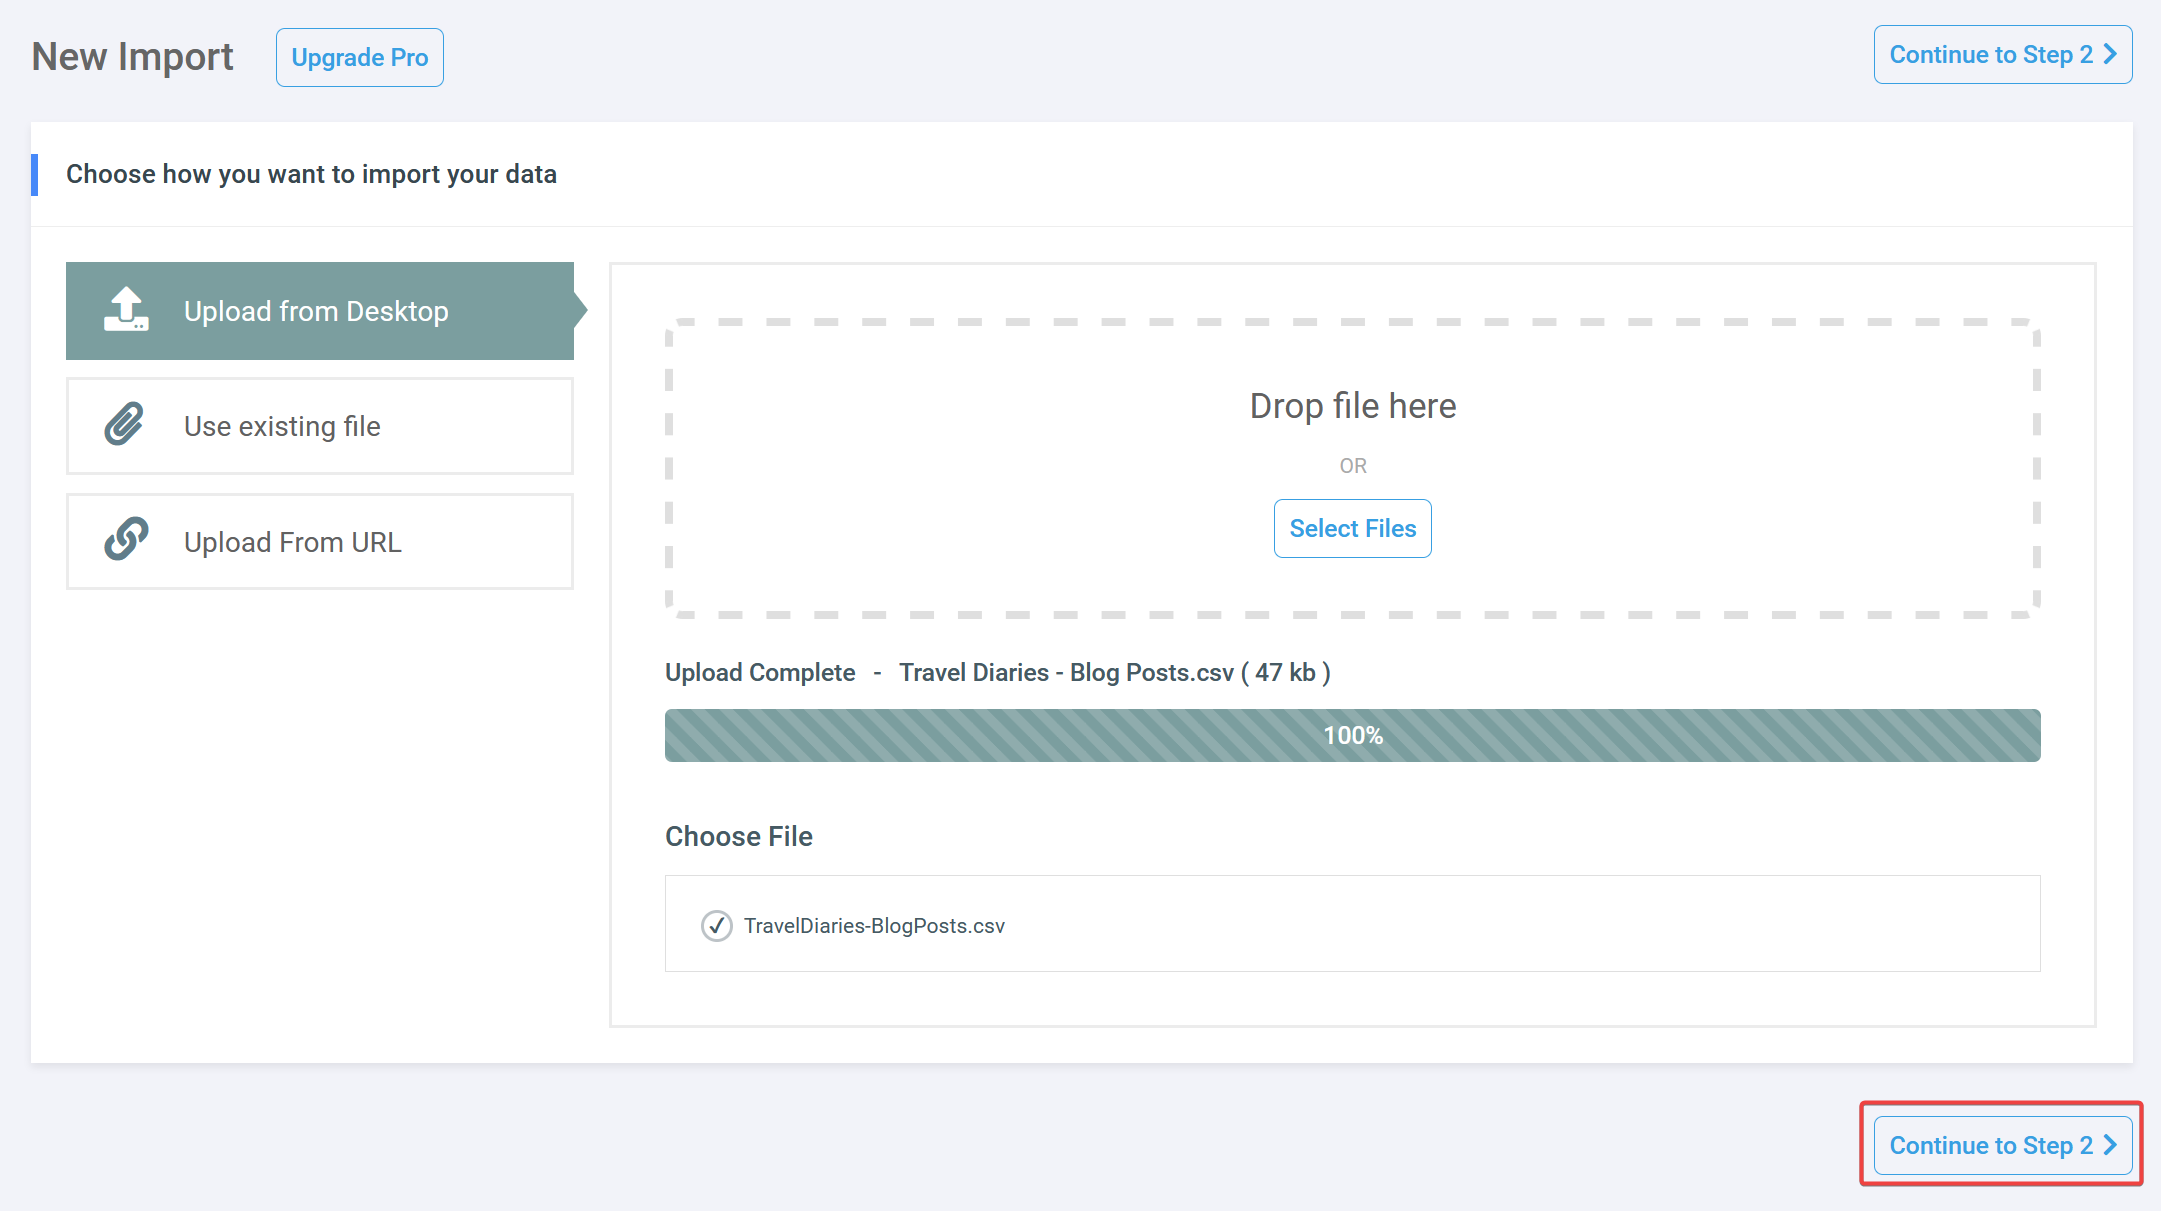
Select the Upload from Desktop option, then select the file you previously exported from Webflow.
 Once the upload is complete, continue to the second step.
Select the post type you want to import the content as. In this case, I will select to import the content as posts. You can also specify whether you want to import new items only or additionally update existing items. In this example, the WordPress site does not contain any content, so I’ll select the option to import new items only.
Continue to the next step once you have specified all the options.

The following page allows you to specify various filtering options you can skip. You can also specify how the CSV file should be parsed. You can leave the CSV Delimiter as a comma (,) and indicate that the first row is a title row.
 You can also browse the data in the file in the File Data Preview section. Once you’re happy, continue to the next step.

The next step requires you to map the fields from the CSV file to the correct fields in WordPress. You will see all the fields listed on the right-hand side of the page.
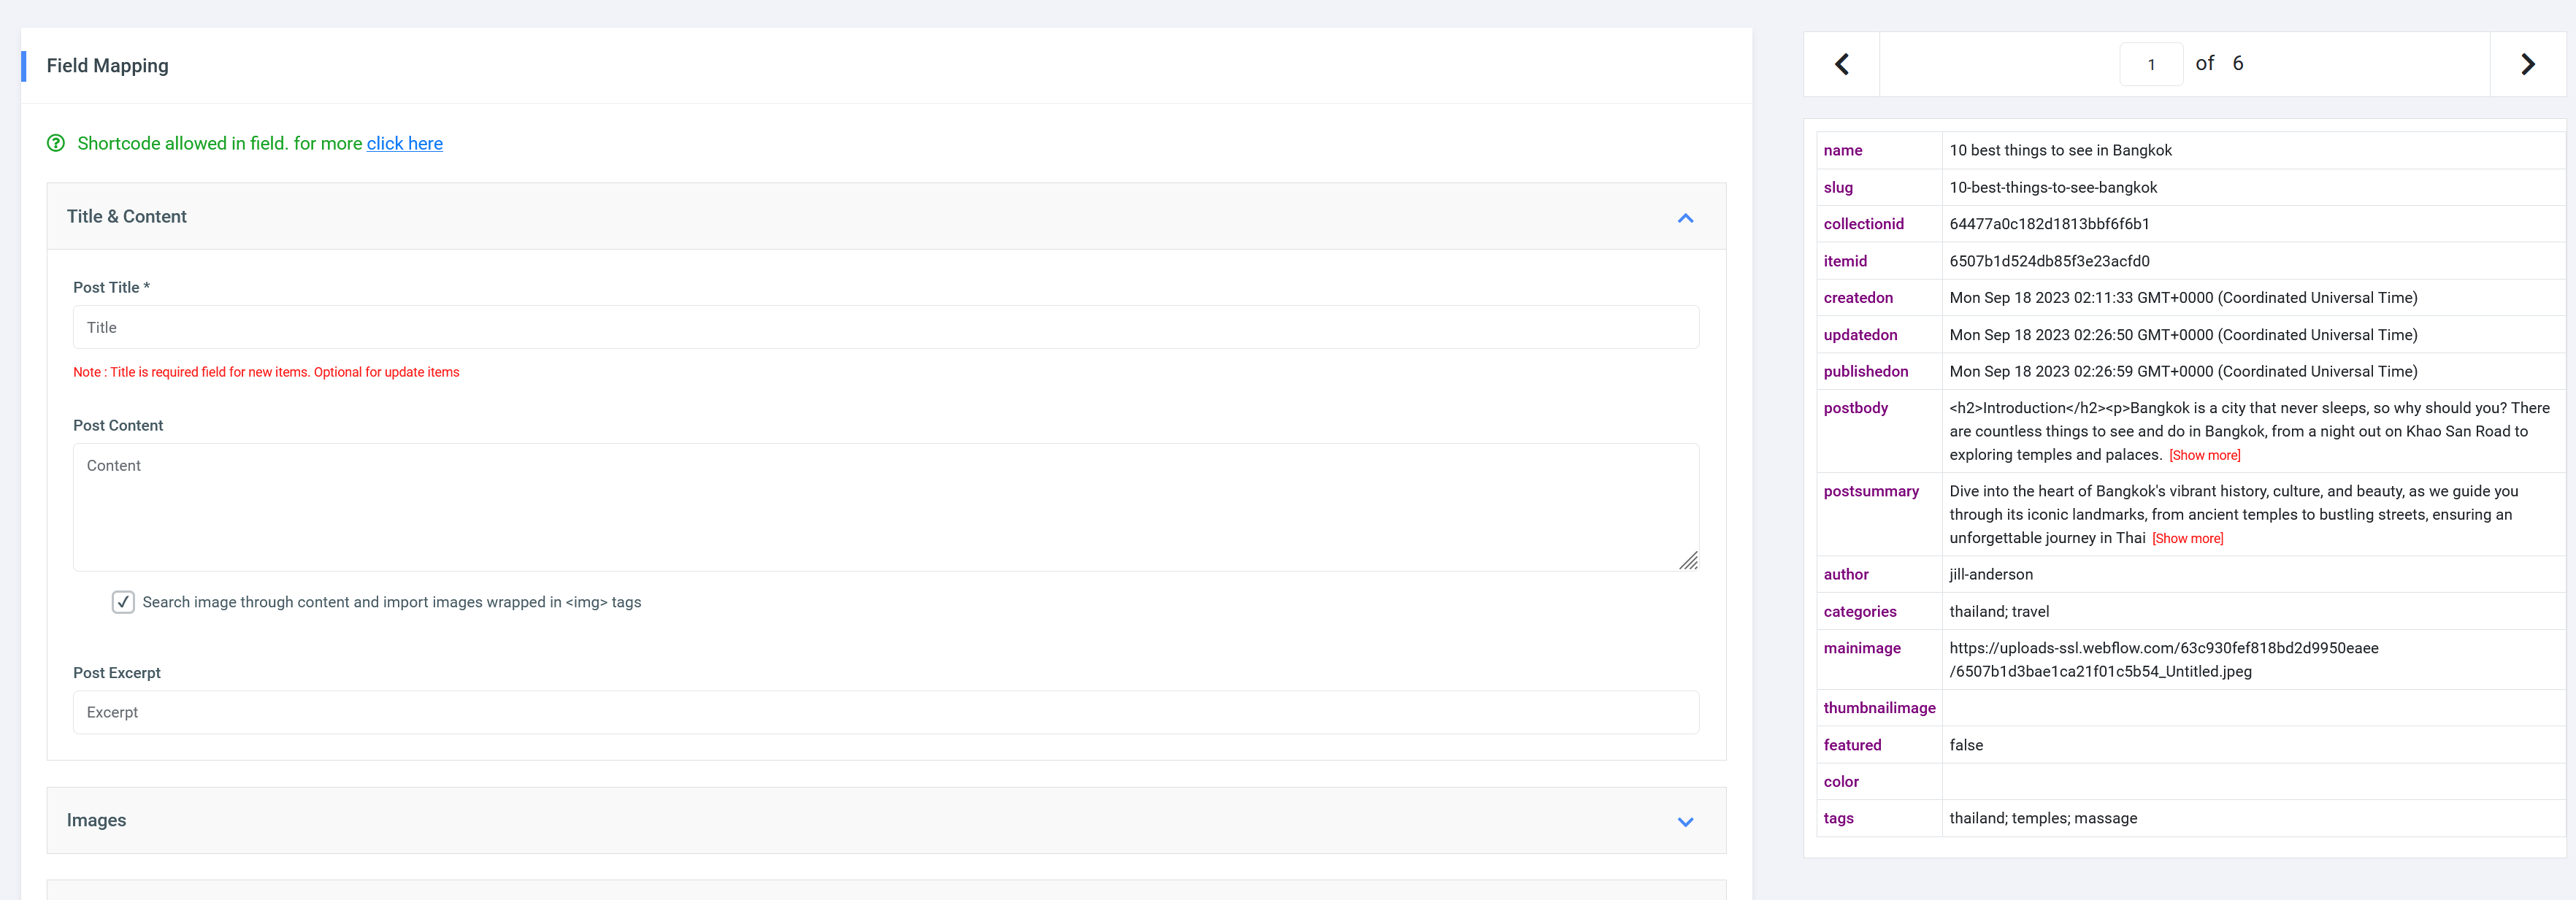 You can drag the fields from the right to the correct fields on the left. For example, if I click on name and start dragging, you can see the text
 {name[1]} with a 🚫 icon next to it.
 Once you drag it over a field on the left, you can release the mouse button to “drop” the field.
 In my case, I mapped the name field to the post title, the postbody field to the post content, and the postsummary field to the excerpt.
 Also, note in the screenshot above, I have indicated that it should search the content for images and import any images located inside an
 <img> tag. This will scan the content of the blog posts for images and upload them to your site’s media library.
In my example, I have a field called mainimage in the CSV file that contains the post’s featured image. We must indicate that we want to import this image and set it as the featured post. In the Images section of the mapping screen, (1) ensure that you have enabled the option to download images from elsewhere. Then (2) drag the field containing your featured image to the textbox. Finally, (3) ensure that you have enabled the option to set the first image as the featured image.

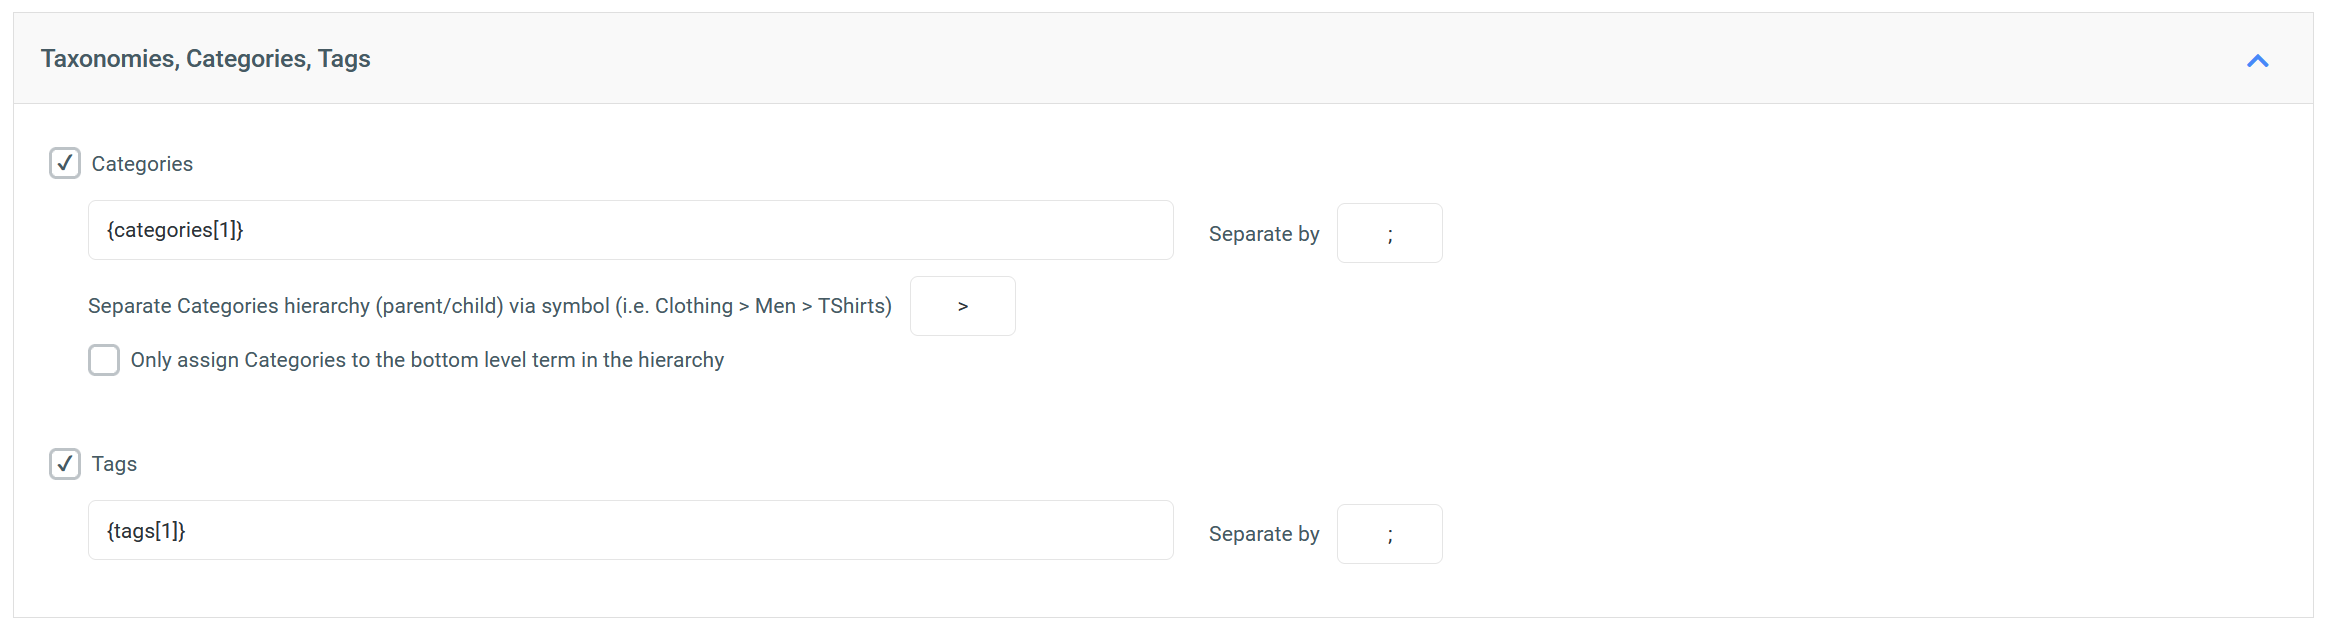
Next, we must map the categories and tags. In my case these are contained the categories and tags fields in my CSV file, so I drag those to the respective fields. Both the categories and tags fields in the CSV file contain multiple items separated by a semicolon (;), so I specified this as the value in the Separate by field.
The Other Post Options section allows you to specify additional post options and map fields for the post date, slug, and more. Configure these as per your needs and then proceed to the final step.

The last part is to tell the plugin how to handle existing items. Even though we previously specified that we only want to import new items, we still need to specify the field the plugin must use to match items in the CSV file against items in WordPress. I chose to use the Slug and mapped the slug field from the CSV file.
I also indicated that it should update all fields. This is not relevant, though, since I chose only to import new items.
 Once you have completed the information on this page, you can proceed to the final review step.
The final step allows you to review all your import settings. Go over those, and if you’re happy with everything, you can proceed with the import by clicking the Confirm & Run Import button.
 This may take a while - depending on the size of the CSV file you import. Once the import is complete, you will see a summary screen.

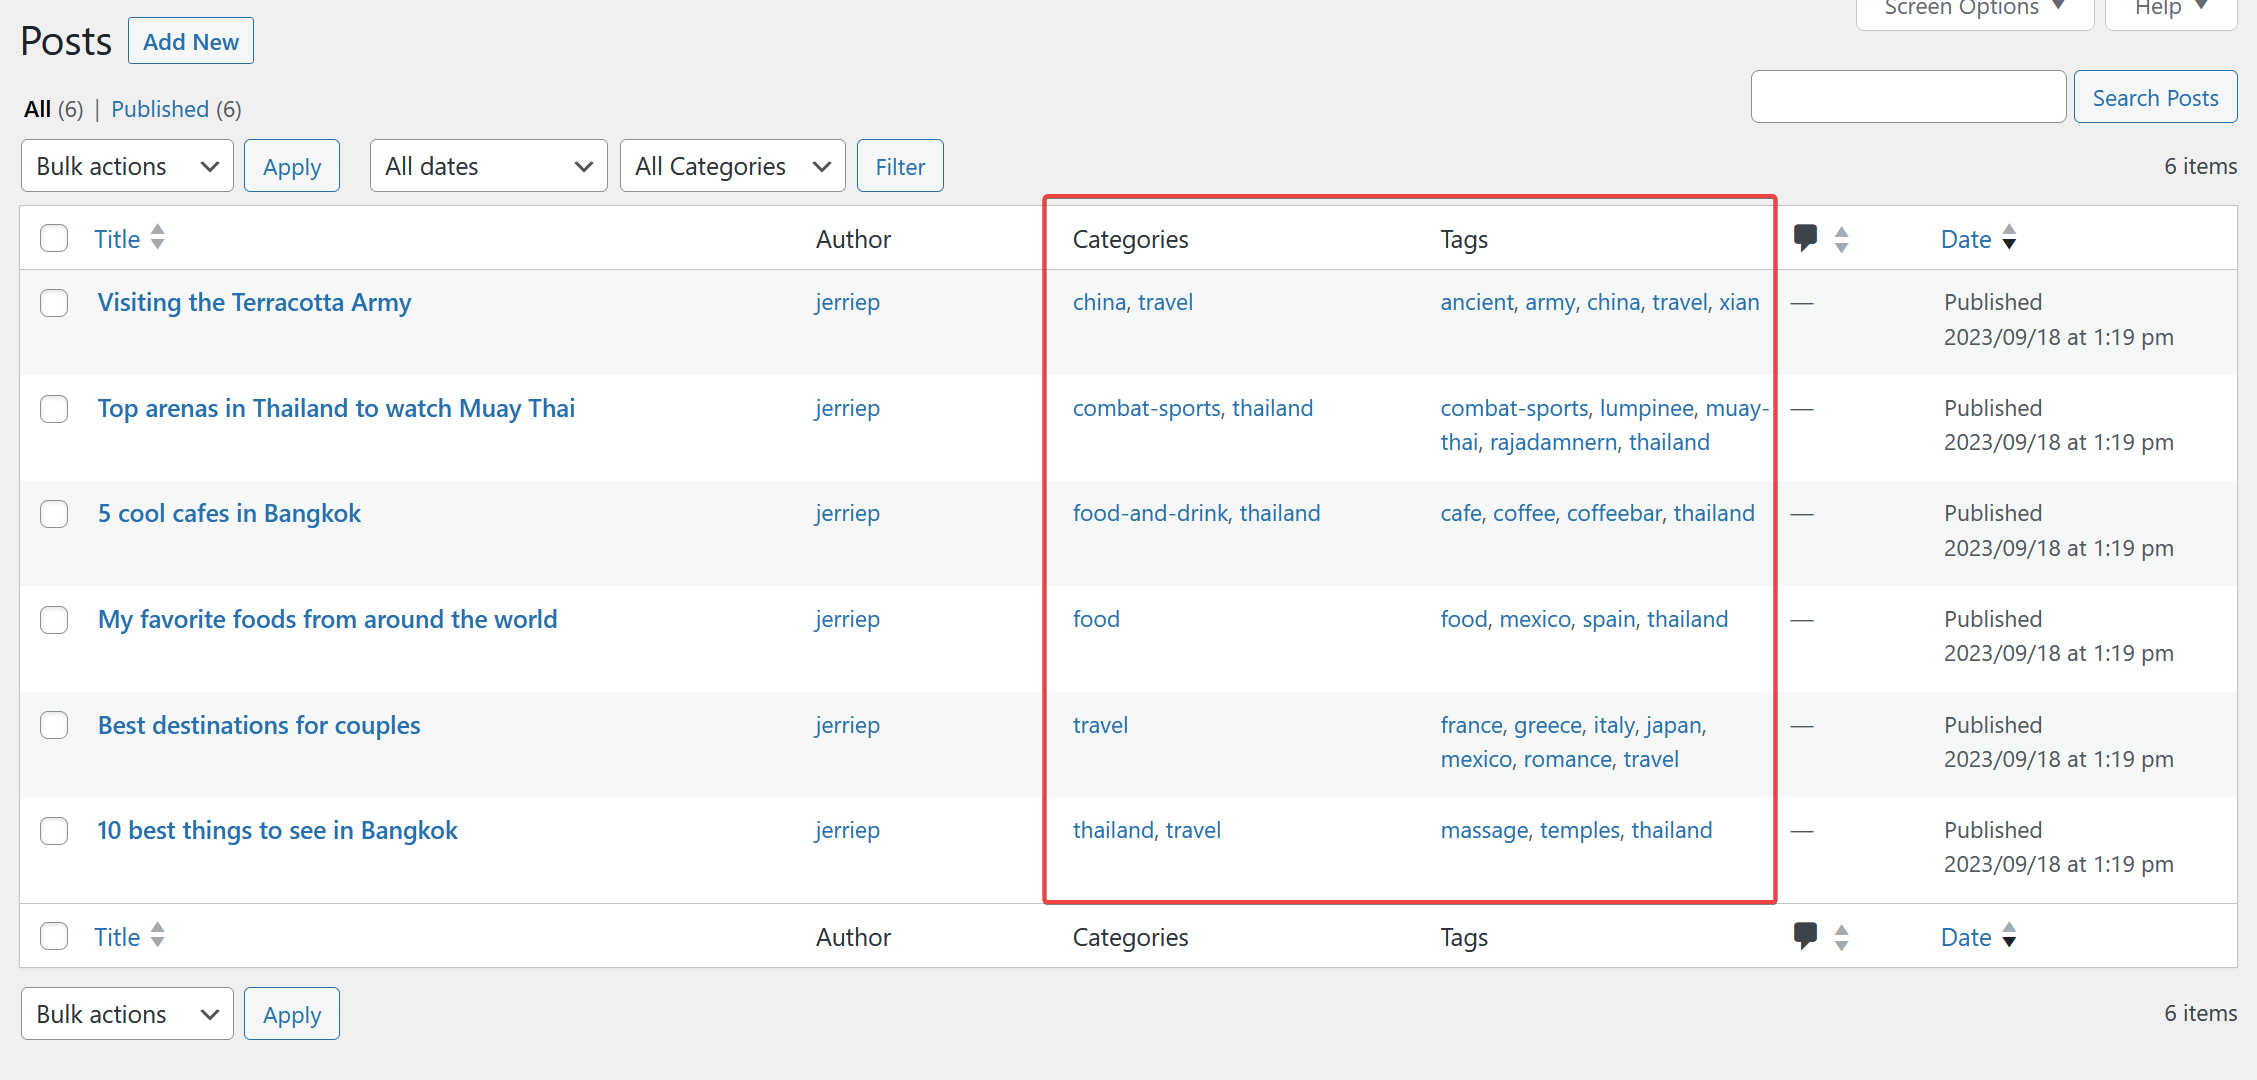
With the import complete, you can navigate to the posts to confirm that all the data was imported. Feel free to navigate into each post to ensure that the content was imported and that additional fields like the slug, categories, featured image, etc., were imported correctly as well.
One thing you will notice is that the categories and tags may not look very pretty. They are all lowercase and may contain hyphens (-) since WordPress exported the slug for these fields.
 You can edit these individually, but it can take time. To edit them in bulk, you can use the Bulk Edit Categories and Tags plugin you installed previously.
You can access this plugin from the sidebar of the WP Admin Dashboard under the WP Sheet Editor item.
 You will be presented with a spreadsheet-like user interface that makes editing the items in bulk easy. Once you have edited the names of the items to your liking, you can click the Save button.
 With the changes to the categories and tags made, you can browse back to the posts to verify the updated names of the categories and tags are displayed.

Before we wrap up this blog post, I want to discuss how you can better protect yourself from situations like this in the future by writing and keeping your content in Google Docs or Notion and then exporting them to WordPress (or another supported CMS) using Cloudpress.
At Cloudpress we believe that Google Docs and Notion both offer superior editing and collaboration experiences over most of the Content Management Systems (CMSs) available. Many of our customers like to use Google Docs with their guest writers since it allows them to easily invite external writers as collaborators to any Google Doc.
Besides this, Google Docs and Notion have built-in AI tools, so you don’t have to use and pay for an additional AI tool to assist you with some of your writing tasks.
Cloudpress will export perfectly formatted content from Google Docs and Notion to your WordPress site and also allows you to update additional fields like the author, categories, featured images, and even custom fields.
The other benefit is that you future-proof yourself when you want to migrate to another CMS in the future since you can use Cloudpress to export the original content from Google Docs or Notion to your new CMS.
For more information, please look at our Google Docs → WordPress and Notion → WordPress integration pages and watch the two videos below for a demonstration. The first video demonstrates how Cloudpress can export content from Google Docs to WordPress. The second video demonstrates how you can use our Collections feature to export all pages in a Notion database to WordPress.
In this blog post, I demonstrated how to migrate content from Webflow collections to WordPress. I walked you through exporting the content from Webflow, importing the exported content into WordPress, and fixing the names for taxonomies like the categories and tags.
Although we did not handle the exporting of any pages, migrating your blog posts from Webflow can be a massive time saved in itself.
Manage your CMS content at scale.